• Free shipping on orders over €30
  • 10% discount on your first order
  • Buy 2 and get an extra 5% off
USD
|
en

Introducing MrBricky: how it works in 5 simple steps

Written by: Sander Publish date: 25 Jan 2026

Turning a photo or design into a brick mosaic might sound complicated. At MrBricky, it isn’t.

We’ve designed the entire process to be simple, intuitive, and enjoyable. From the moment you choose an image to the moment your mosaic is finished and on display.

Here’s how MrBricky works, step by step.

Step 1. Choose your photo or design

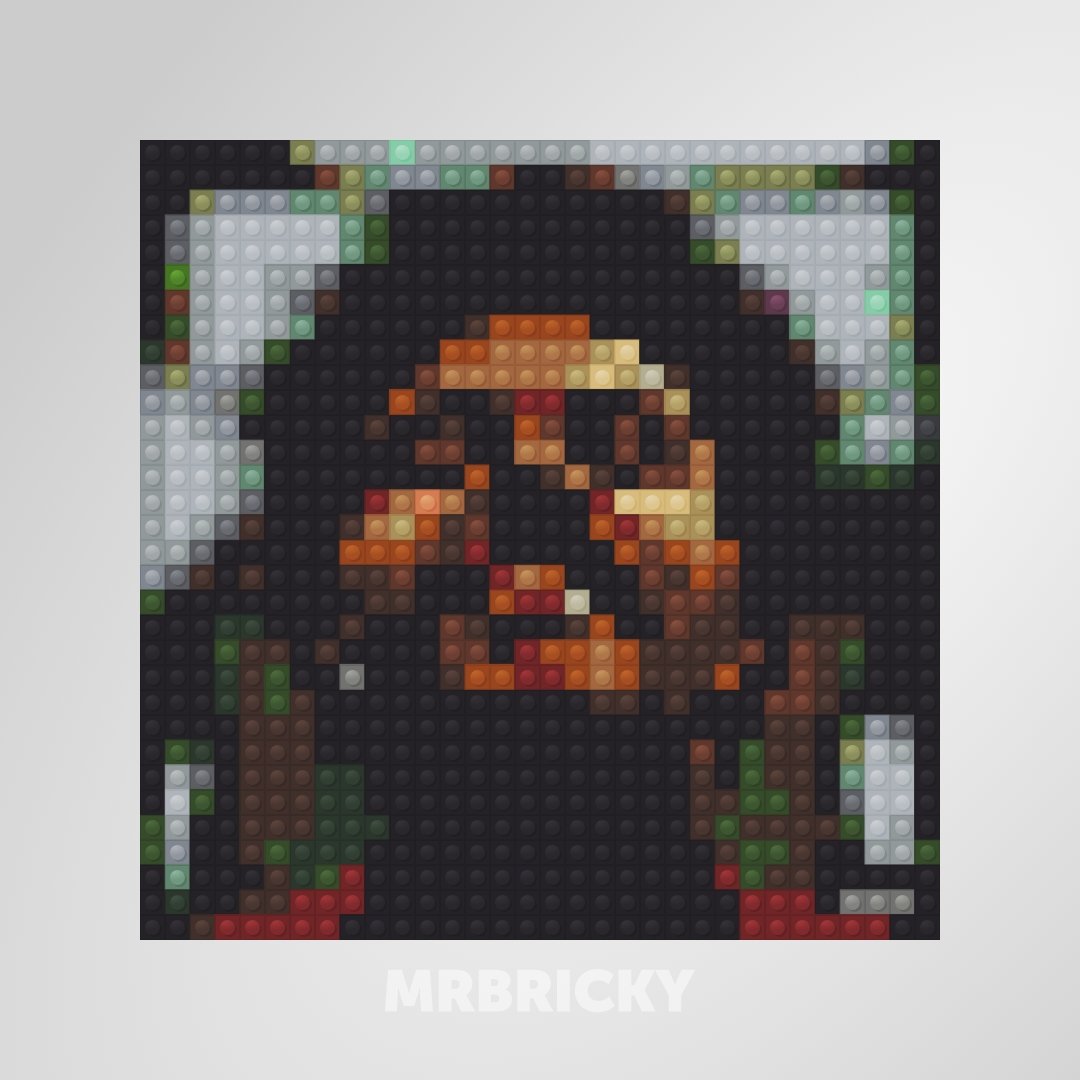
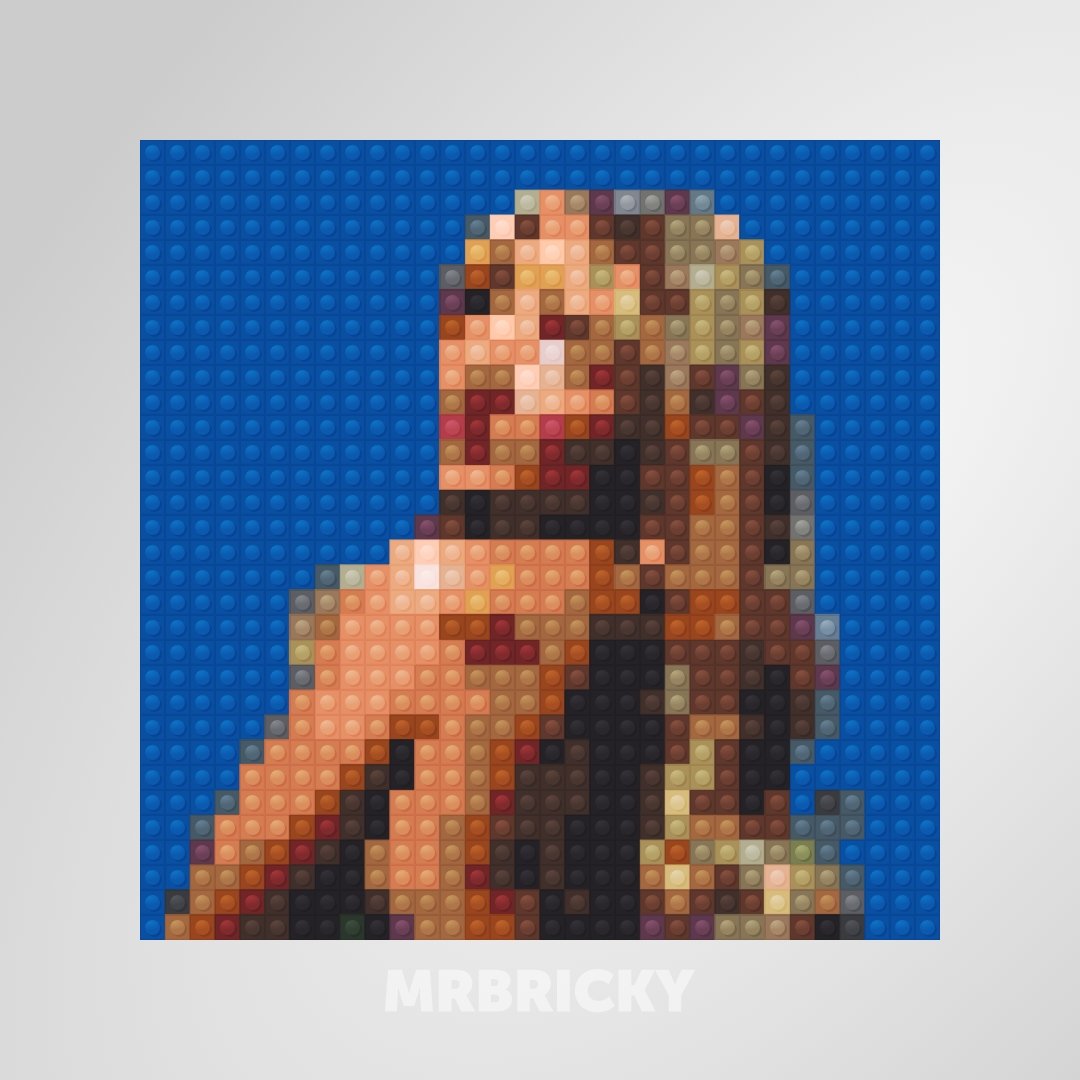
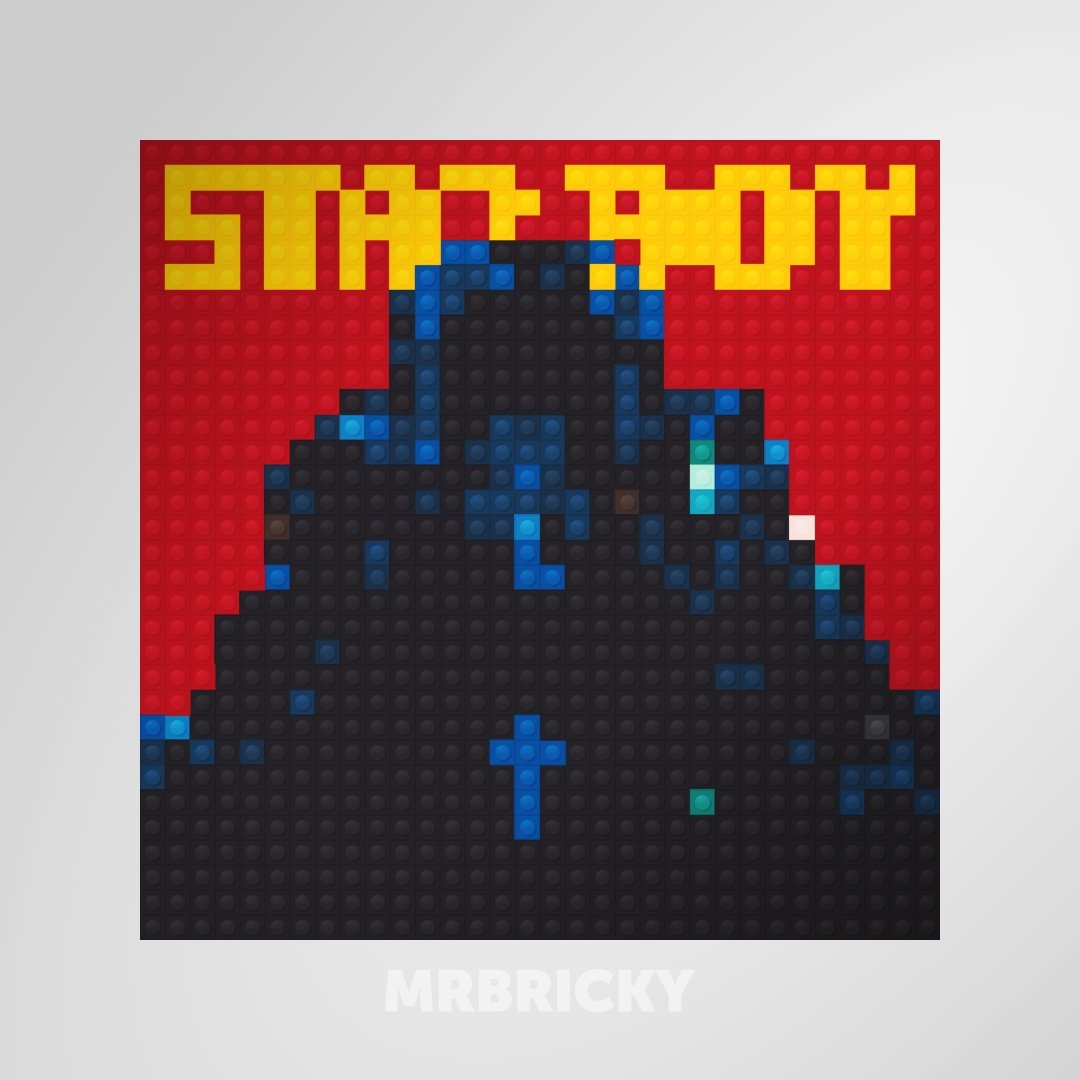
Every MrBricky mosaic starts with an image. You can upload a personal photo, such as a portrait, a couple, a family member, or a pet. Or you can start from an existing design if you already know what you want to build.

Not every image works equally well, which is why our tool helps translate your image into a buildable brick layout from the start. The goal is not just to recreate the image, but to make sure it works as a physical mosaic.

Step 2. Edit and preview your design

Once your image is uploaded, you can fine-tune the result.

You’ll see a live preview of how your mosaic will look when built with small bricks. This allows you to adjust details, framing, or orientation before placing your order.

What you see here is what you’ll eventually build. No surprises later in the process.

Step 3. Place your order and we prepare your kit

After you’re happy with the design, you place your order.

From there, we take care of the rest. Your mosaic is carefully prepared as a complete build kit. This includes all the bricks you need, sorted and packed, along with clear building instructions.

Each order is handled individually, based on your specific design.

Step 4. Unpack and build, brick by brick

When your MrBricky box arrives, the real fun begins. You unpack the kit and start building your mosaic step by step. Brick by brick, the image slowly comes to life. What starts as an abstract pattern gradually becomes a recognisable portrait or design.

Building is a calm, focused process. Many people describe it as relaxing, almost meditative. There’s no rush. The experience is just as important as the final result.

Step 5. Show your brick mosaic to the world

Once your mosaic is finished, it’s ready to be displayed. Place it on a shelf, hang it on the wall, or give it as a gift. However you choose to show it, it’s something you can be proud of. Because you didn’t just buy it, you built it!

And of course, if you feel like sharing it, we love seeing finished builds come to life.

Write a comment

This blog has no comments yet.